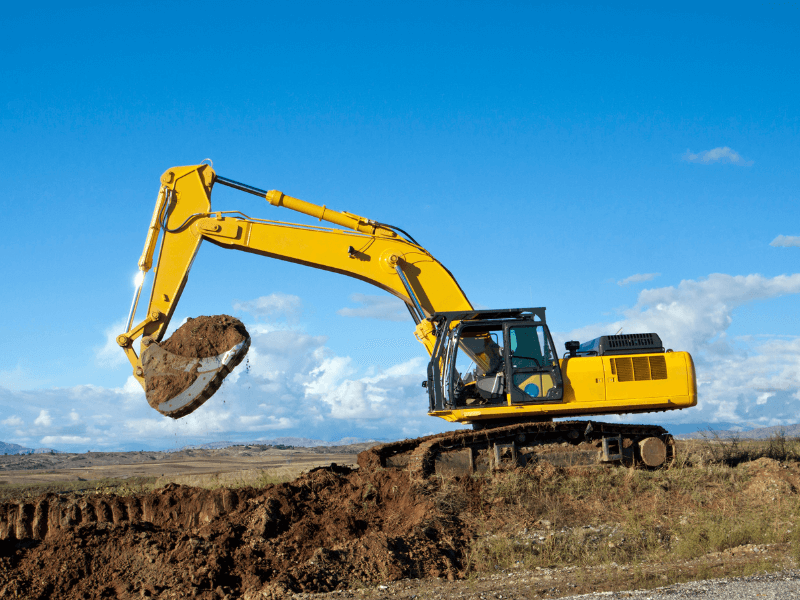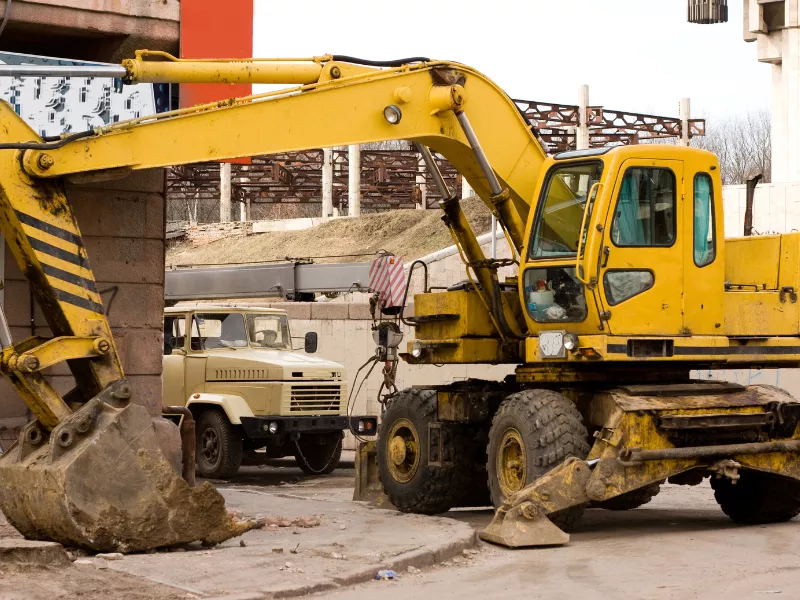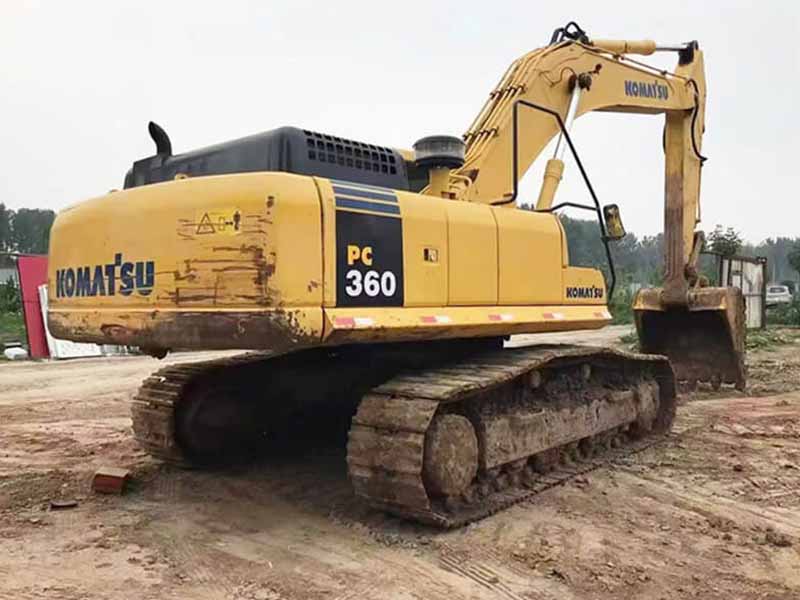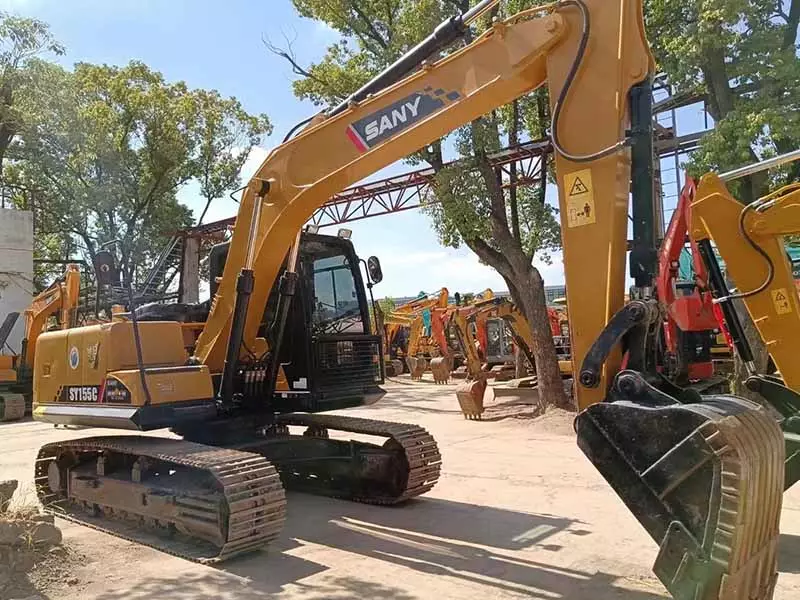
Operators must perform an excavator oil leak inspection daily. This routine task prevents severe machine damage. A solid excavator maintenance checklist stops catastrophic engine failures. Companies avoid massive EPA fines for hazardous spills. Furthermore, proactive checks secure operator safety. You prevent sudden equipment slippage. You maintain steady hydraulic pressure. Addressing minor drips extends the total machine lifespan. Altogether, daily observation protects your expensive investment.
Reasons for an excavator oil leak inspection
Owners save significant money through early detection. Small fluid drops signal major system stress. You achieve full environmental compliance seamlessly. You block hazardous job site spills entirely. As a result, you stop sudden hydraulic pressure loss. Buyers also demand a thorough used excavator inspection before payment. Therefore, routine checks preserve your machine value. Equally important, clean machines pass strict safety audits.

Top 3 Target Areas for an excavator oil leak inspection
1. The Hydraulic System
The boom, stick, and bucket cylinders experience massive force. Extreme stress compromises the metal connections. You must monitor these high risk zones constantly. Mechanics look for weeping seals. Technicians replace damaged hydraulic hoses promptly. Reliable heavy equipment leak repair begins at the main cylinders. Besides, regular hose replacement prevents sudden bursts. You secure peak digging performance.
2. The Engine Compartment
You scan the engine compartment thoroughly. Mechanics search for raw engine oil drips. You inspect the valve cover gaskets carefully. You examine the oil pan for wet spots. Extreme engine heat hardens rubber seals rapidly. After that, brittle seals crack easily. You replace these gaskets to stop oil loss.
3. Final Drives and Undercarriage
You evaluate the final drives and undercarriage next. Technicians test the travel motors. You check for final drive gear oil drips. Wet dirt clings to seeping fluid directly. Specifically, heavy grime indicates a slow gear oil drip. You clean the undercarriage to spot fresh wetness.
Step by Step Excavator Maintenance Checklist
Step 1: The Visual Cold Walkaround
An effective excavator oil leak inspection starts with a visual check. You look for fresh puddles under the metal tracks. You scan the chassis for excessive dirt buildup. Thick dust adheres to leaking oil spots. Accordingly, mechanics trace the wet dirt to the exact source. You wipe the area clean.
Step 2: Fluid Level Checks
You read the hydraulic fluid sight glass first. You pull the engine oil dipstick next. Low fluid levels signal active fluid loss. Consequently, you must add approved fluids. You record the daily fluid levels.
Step 3: The Operational Warm Test
You run the machine to operating temperature. Heat expands the metal components. Pressurized systems expose active fluid drips. You listen for distinct hissing sounds. These noises reveal dangerous pressure loss. Basically, a warm engine exposes hidden problems. You watch the hydraulic lines under load.
Step 4: Advanced Detection Methods
You must learn how to find hydraulic leaks efficiently. Professionals inject UV leak detection dye into the tank. You shine a bright blacklight over the dark hoses. The bright dye reveals tiny micro leaks immediately. Indeed, this method saves hours of searching. You pinpoint the exact failing connection.
Primary Causes of Excavator Fluid Leaks
A poor excavator oil leak inspection ignores these basic causes. Normal daily use degrades standard O rings. Continuous friction ruins basic rubber seals. Extreme summer temperatures destroy thick hydraulic hoses. Engine vibration loosens tight hydraulic fittings over time. Contaminated fluid scores internal metal components deeply. Overall, dirty oil ruins precision metal parts. You filter the hydraulic fluid often.
Leak Type Identification and Comparison
| Leak Location | Fluid Color | Danger Level | Repair Urgency |
| Hydraulic Hoses | Clear or Amber | High | Immediate |
| Engine Oil Pan | Dark Brown or Black | Medium | High |
| Final Drive Gear | Thick Brown | Medium | Moderate |
| Coolant System | Green or Orange | Low | Moderate |
Reasons to Buy Pre Inspected Used Equipment
Smart contractors buy pre inspected used excavators. Technicians perform comprehensive machinery evaluations beforehand. Our technicians complete a strict excavator oil leak inspection prior to listing. Dealerships repair all minor fluid drips beforehand. You visit our website https://www.usedtruckexcavator.com/ for top machinery. You purchase reliable heavy equipment confidently. Ultimately, clean equipment delivers maximum uptime.
Frequently Asked Questions
- How long does an excavator oil leak inspection take?
You complete the basic visual walkaround in ten minutes.
- What causes a hydraulic hose to burst?
Extreme pressure and external friction destroy the rubber casing.
- Can I operate an excavator with a small hydraulic drip?
You risk sudden pressure loss and severe component damage.
- How do mechanics find invisible pressure leaks?
Professionals use UV dye and specialized blacklights.